
In this quick tutorial you'll learn how to draw a Baby Monarch Butterfly in 9 easy steps - great for kids and novice artists.
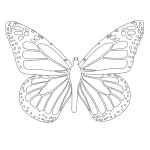
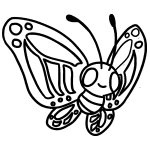
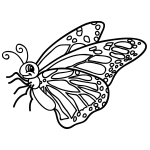
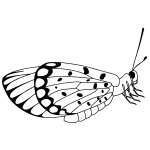
The images above represent how your finished drawing is going to look and the steps involved.
Below are the individual steps - you can click on each one for a High Resolution printable PDF version.
At the bottom you can read some interesting facts about the Baby Monarch Butterfly.
Make sure you also check out any of the hundreds of drawing tutorials grouped by category.
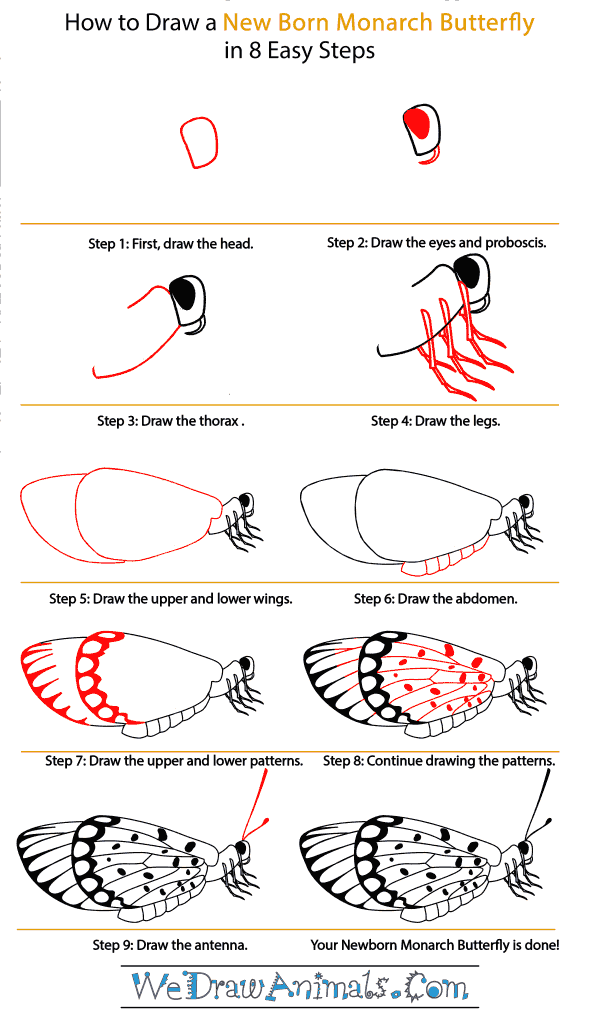
How to Draw a Baby Monarch Butterfly - Step-by-Step Tutorial


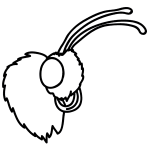
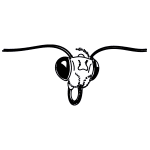

Step 1: First draw the head by making a rectangle with rounded sides.

Step 2: Next we'll add a big eye and shade it in. Then draw a short curved Proboscis. This is what the butterfly uses to gather nectar from flowers!

Step 3: Now we'll outline the thorax. That’s just a fancy word for upper body

Step 4: Draw six legs along the thorax and make sure they have three joints each.

Step 5: Next draw the upper and lower wing, one in front of the other.

Step 6: Now we can draw the abdomen. This means the lower body of the Butterfly. Draw an oval underneath the wings and divide it into 6 sections.

Step 7: Draw the patterns on the edge of the wings that you can see in the picture. It's these patterns that make butterflies so pretty!

Step 8: Keep drawing the rest of the patterns on the wings as shown.

Step 9: Now we can add the last part of our Butterfly! Draw two lines on the top of the head to make antennae and you're all done!
How to Draw a Baby Monarch Butterfly – Step-by-Step Tutorial