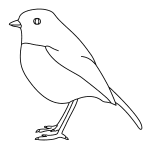
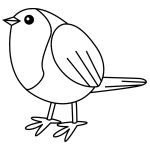
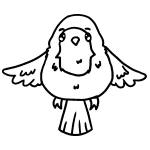
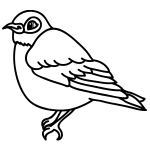
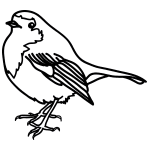
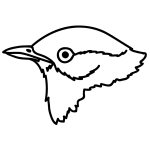
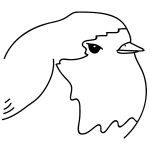
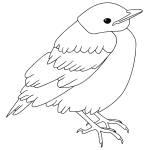
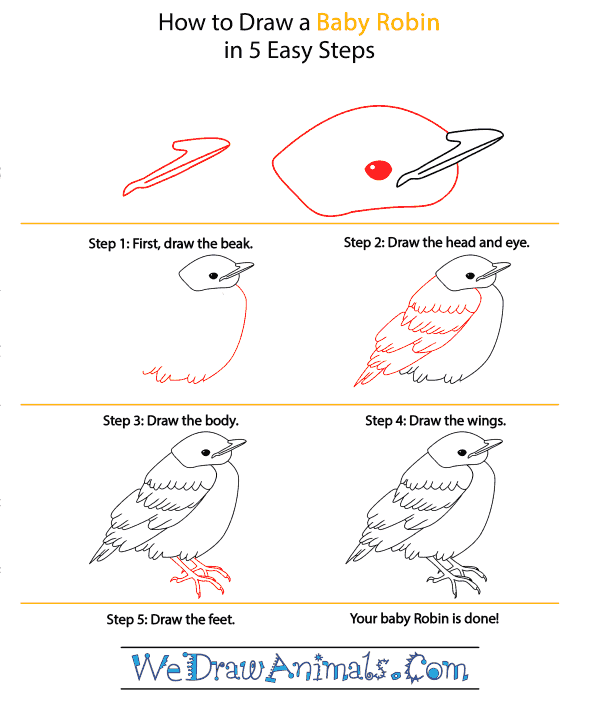
In this quick tutorial you'll learn how to draw a Baby Robin in 5 easy steps - great for kids and novice artists.
The images above represent how your finished drawing is going to look and the steps involved.
Below are the individual steps - you can click on each one for a High Resolution printable PDF version.
At the bottom you can read some interesting facts about the Baby Robin.
Make sure you also check out any of the hundreds of drawing tutorials grouped by category.
How to Draw a Baby Robin - Step-by-Step Tutorial
Step 1: Let's start with the beak. Draw a large curved shape that sort of looks like a boomarang. Draw a straight line inside for the mouth.
Step 2: Next, let's draw the head and eye. Draw a large oval shape from the top of the beak to to same spot just below the beak. Draw an oval for the eye and fill it in.
Step 3: Let's draw the body next. Starting from the bottom of the head, draw a long curved line down. Finish the bottom of the body with a line that has little half circles, ovals, and triangles. Remember to follow the picture if you're having trouble.
Step 4: Next, let's draw the wings. Now, the wings are a little tricky. Similar to how you drew the bottom of the body, draw multiple lines with half oval and traingle shapes. Follow the picture closely but don't worry if your robin doesn't look exactly like the picture!
Step 5: To finish up, let's draw the feet. Robins, like all birds, have four pointy toes on each foot that help them perch! Try to follow the picture as best you can. Your robin is done! Now you can add some color to your robin. Robins typically have black wings and reddish-orange fur on their bellies!

