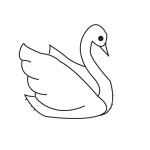
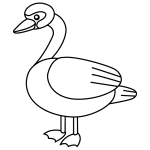
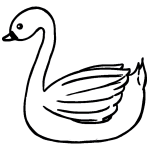
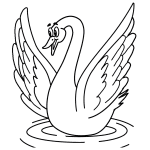
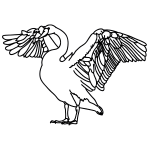
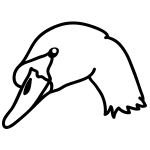
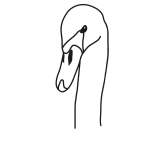
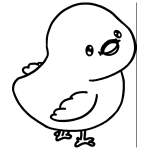
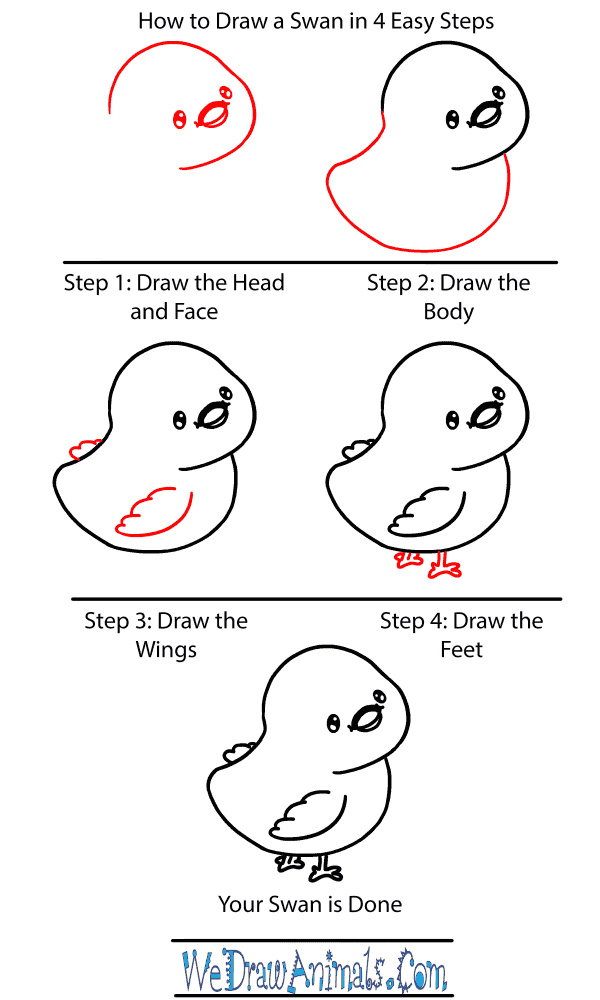
In this quick tutorial you'll learn how to draw a Baby Swan in 4 easy steps - great for kids and novice artists.
The images above represent how your finished drawing is going to look and the steps involved.
Below are the individual steps - you can click on each one for a High Resolution printable PDF version.
At the bottom you can read some interesting facts about the Baby Swan.
Make sure you also check out any of the hundreds of drawing tutorials grouped by category.
How to Draw a Baby Swan - Step-by-Step Tutorial
Step 1: First, let's draw the head and face. Draw a circle, leaving a space on the bottom left. Draw two ovals for the eyes and a larger oval for the mouth.
Step 2: Next, draw the body. Starting from where you left a space on the head, draw a line that swoops down and around to the other side of the head, just below the mouth.
Step 3: Next, let's draw the wings. In the middle of the body, draw little bumpy lines for the back of the wing and a nice curved line for the front. Draw a couple little bumpy lines for the other wing.
Step 4: To finish up your swan, draw the feet. Swans have three little webbed toes on each foot. Draw lines down for the leg and little star shapes for the toes. Your swan is done!

