

Step 1: Let's begin with the eye of the mouse! Add a large black dot in the middle of the paper.

Step 2: Next, directly above the eye, add a horizontal curved line and an additional circle at the right end of the curved line for the nose.

Step 3: Now, off the base of the nose, add two curved lines. One should be short and sweet to represent the mouth and the other will create an upside-down semi circle for the bottom of the mouse's face.

Step 4: Now, off the top of the head, add a dome shape for the left ear. Move over to the right a bit and add in another dome, this one being a bit smaller than the first. Add a vertical line through this dome shape. Move back to the first dome and add in a teardrop shape for the middle of the ear.

Step 5: Now, at the base of the nose, add three horizontal lines off to the left and another three horizontal lines off to the right.

Step 6: From the base of the chin, add a vertical line downward and match this with another line parallel to the first. This line should start about halfway down. Connect both at the base by adding in a curved foot and toe. Repeat this step once move over to the left, leaving a space between each leg.

Step 7: From the base of the left ear, add a curved vertical line downward that connects to the left leg. In between the left and right leg, add a horizontal line to connect the two lines together. Off to the side of each leg, add a small smei-circle for the two back feet.

Step 8: Lastly, return to the bottom left of the mouse and add two parallel curved lines running vertically. Converge the two lines to a point at the top, creating the tail.

Step 9: You did an amazing job! He looks adorable!
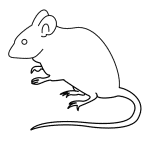
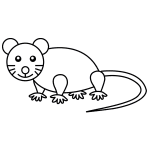
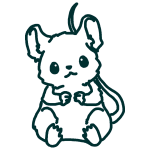
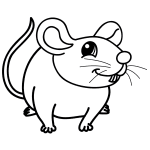
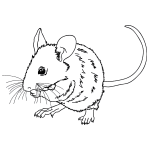
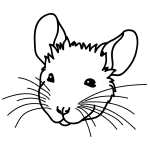
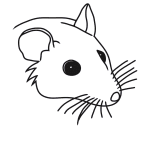
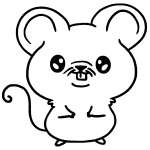
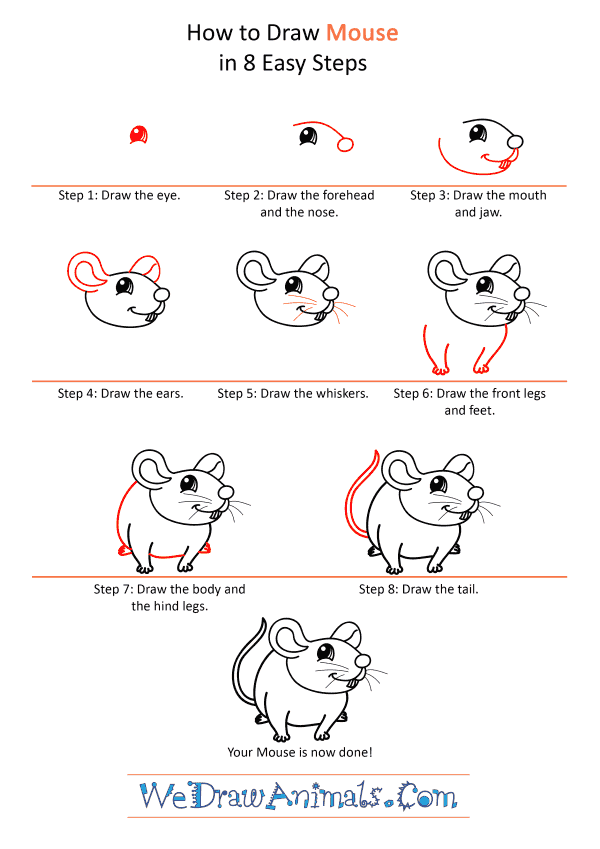
How to Draw a Cartoon Mouse – Step-by-Step Tutorial