
In this quick tutorial you'll learn how to draw a Deer For Kids in 6 easy steps - great for kids and novice artists.
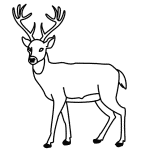
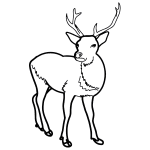
The images above represent how your finished drawing is going to look and the steps involved.
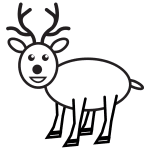
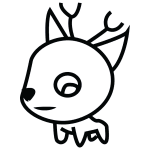
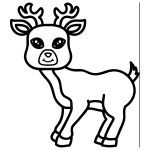
Below are the individual steps - you can click on each one for a High Resolution printable PDF version.
At the bottom you can read some interesting facts about the Deer For Kids.
Make sure you also check out any of the hundreds of drawing tutorials grouped by category.
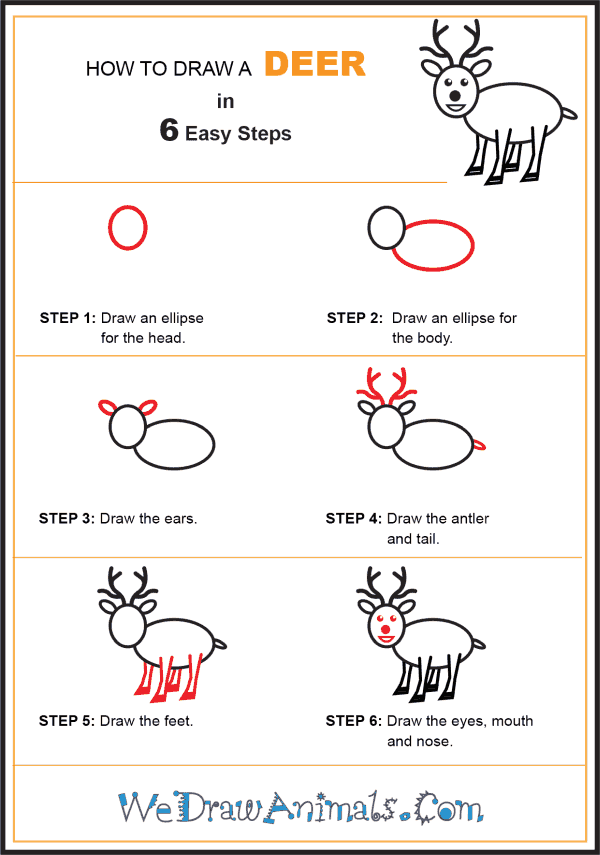
How to Draw a Deer For Kids - Step-by-Step Tutorial
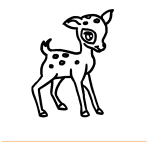

Step 1: Deer are adapted to live in many different biomes, from rainforests to tundra. Many people around the world enjoy hunting them. Begin your deer by drawing an ellipse for the head.

Step 2: Draw a second, bigger ellipse beginning at the right rear of the dear's head and looping around the bottom of the head.

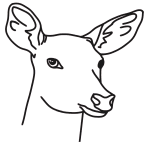
Step 3: Draw the dear's rounded ears protruding from the top right and left of its head.

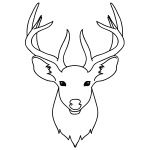
Step 4: Add a similar shaped loop for the tail and then draw wavy lines for the antlers. A deer's antlers are not necessarily symmetrical, so don't feel like the two sides of the antlers need to mirror each other.

Step 5: Draw each leg as a straight line and a kinked line with shaded parallelograms for the hooves.

Step 6: Draw a "D"-shaped mouth, a big shaded circle for the nose and two smaller circles for the eyes. Shade crescent shapes into the eyes to give a reflection effect.
How to Draw a Deer for Kids – Step-by-Step Tutorial