
In this quick tutorial you'll learn how to draw a Donkey For Kids in 9 easy steps - great for kids and novice artists.
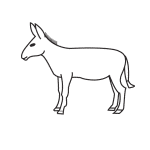
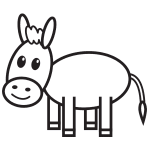
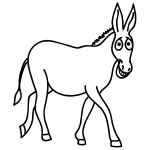
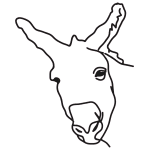
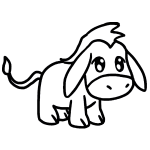
The images above represent how your finished drawing is going to look and the steps involved.
Below are the individual steps - you can click on each one for a High Resolution printable PDF version.
At the bottom you can read some interesting facts about the Donkey For Kids.
Make sure you also check out any of the hundreds of drawing tutorials grouped by category.
How to Draw a Donkey For Kids - Step-by-Step Tutorial


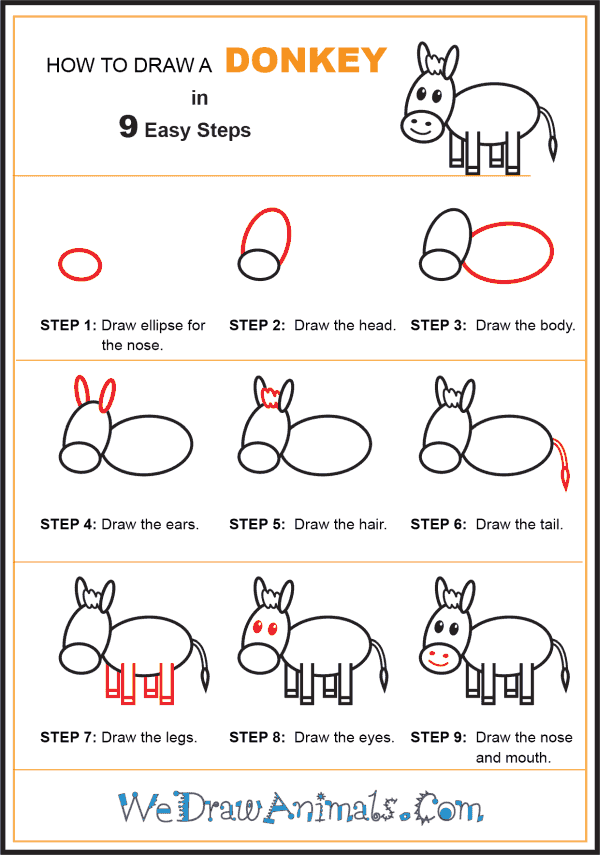
Step 1: A donkey is related to the horse. Donkeys have been used for centuries to carry goods and people all over the world. Begin your donkey with an oval for the nose.

Step 2: Draw the head as another elliptical loop resting on the top of the nose you drew in step 1.

Step 3: Draw the body as a big elliptical loop that converges with the head.

Step 4: Add smaller, narrower ellipses on the top of the head for the donkey's long ears.

Step 5: Donkeys have short manes of hair that culminate in a tuft of hair on the crown of the donkey's head. Draw a wavy freeform shape between the ears to create this tuft of hair.

Step 6: Draw the donkey's long tail as two curved lines that culminate in a teardrop shape. Donkeys use the hairs on the end of their tails to swat the bugs that annoy them.

Step 7: Draw the donkey's legs as four sets of parallel lines with rectangles on the bottom for the hooves.

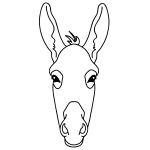
Step 8: Draw the eyes as big ovals in the middle of the head. Shade crescent shapes into them to provide the illusion of reflection in the eye.

Step 9: In the middle of the snout, draw two dots for the donkey's nostrils and an upward-curving line for its mouth.
How to Draw a Donkey for Kids – Step-by-Step Tutorial