
In this quick tutorial you'll learn how to draw a Fly For Kids in 7 easy steps - great for kids and novice artists.
The images above represent how your finished drawing is going to look and the steps involved.
Below are the individual steps - you can click on each one for a High Resolution printable PDF version.
At the bottom you can read some interesting facts about the Fly For Kids.
Make sure you also check out any of the hundreds of drawing tutorials grouped by category.
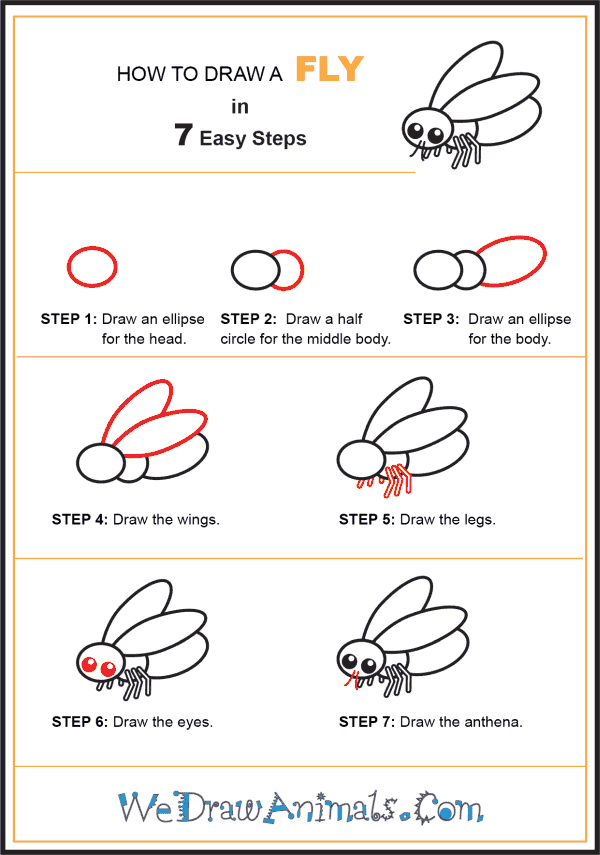
How to Draw a Fly For Kids - Step-by-Step Tutorial


Step 1: There are over 1 million species of flies in the world. We will begin our fly by drawing an oval for the head.

Step 2: Next draw a half circle and connect it to the oval to form the fly's thorax.

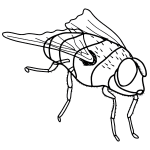
Step 3: Draw a larger ellipse to make the fly's abdomen. Make sure you angle the ellipse upward.

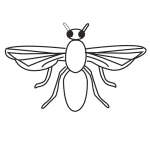
Step 4: Draw the wings as large flat ellipses. Angle the rear ellipses at a steeper angle than the front ellipse.

Step 5: Draw each of the fly's six legs as two sets of lines. The legs on the left side of the body should be angled in the middle.

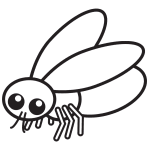
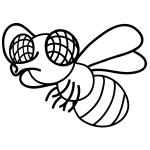
Step 6: Flies have large compound eyes. This means that their eyes consist of many little eyes grouped together. Draw the eyes as large circles on the lower side of the head. Make sure to leave white dots on the top corner to show reflection.

Step 7: Draw the fly's mouthparts as two curved lines branching away from the bottom of the head.
How to Draw a Fly for Kids – Step-by-Step Tutorial