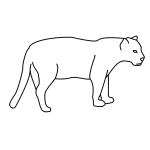
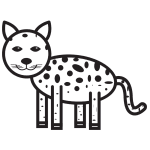
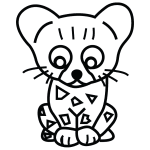
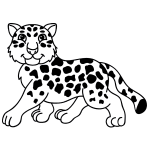
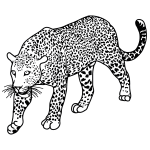
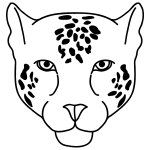
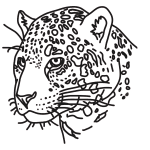
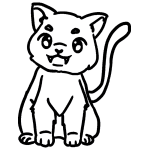
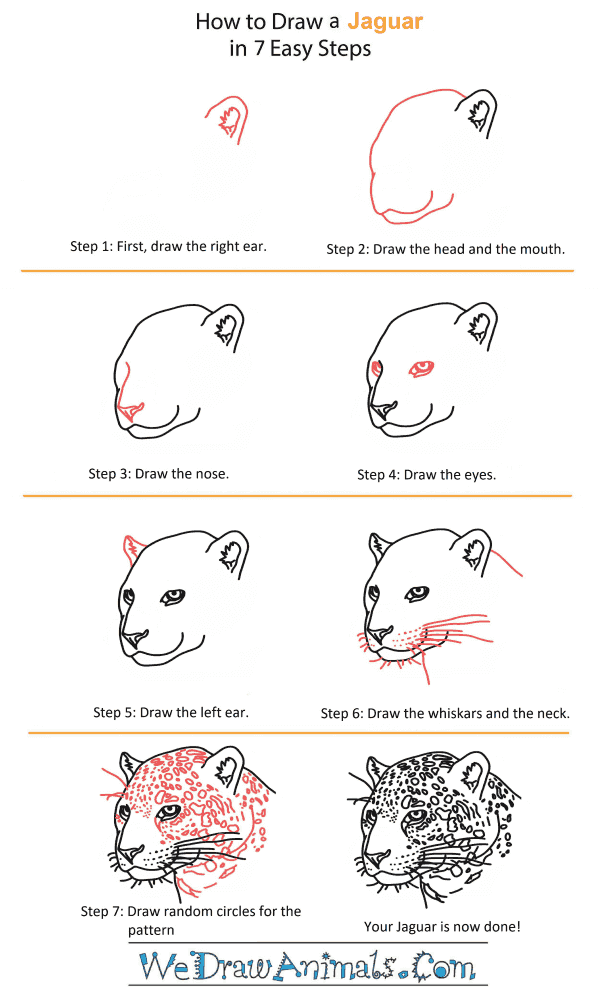
In this quick tutorial you'll learn how to draw a Jaguar Head in 7 easy steps - great for kids and novice artists.
The images above represent how your finished drawing is going to look and the steps involved.
Below are the individual steps - you can click on each one for a High Resolution printable PDF version.
At the bottom you can read some interesting facts about the Jaguar Head.
Make sure you also check out any of the hundreds of drawing tutorials grouped by category.
How to Draw a Jaguar Head - Step-by-Step Tutorial
Step 1: Begin with the right ear, drawing a sideways "U", with a spiky oval shape inside of it.
Step 2: Draw the head by adding a curved line coming away and down from the left side of the ear. Connect a wide "W" to the lower and add a curved line connected below the "W".
Step 3: Now for the nose. This should look like an "L" with a little curve to the left on top, and an upside down triangle beneath it.
Step 4: Add oval shapes to either side of the nose for the eyes, with a large circle within each one, and a dark circle within each of those circles.
Step 5: The left ear can be drawn by added a slightly curved triangle to the left side of the head, with some small zig-zag lines within it.
Step 6: Draw the neck by adding a short line just behind the right ear. For the lower nect, add a short line below the right side of the mouth and face. Add the whiskers by drawing several lines of dots on either side of the nose, along with several long lines to the right of the nose, and many short ones beneath and to the left.
Step 7: For the patter, add lots of randomly sized circles all over the head and neck.
Step 8: Your jaguar is now finished!

