
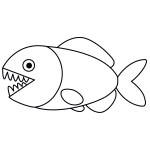
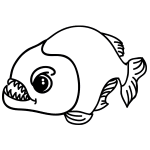
In this quick tutorial you'll learn how to draw a Piranha Head in 9 easy steps - great for kids and novice artists.
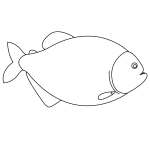
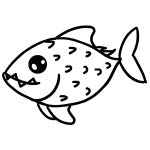
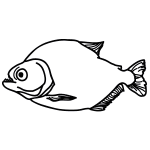
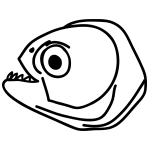
The images above represent how your finished drawing is going to look and the steps involved.
Below are the individual steps - you can click on each one for a High Resolution printable PDF version.
At the bottom you can read some interesting facts about the Piranha Head.
Make sure you also check out any of the hundreds of drawing tutorials grouped by category.
How to Draw a Piranha Head - Step-by-Step Tutorial

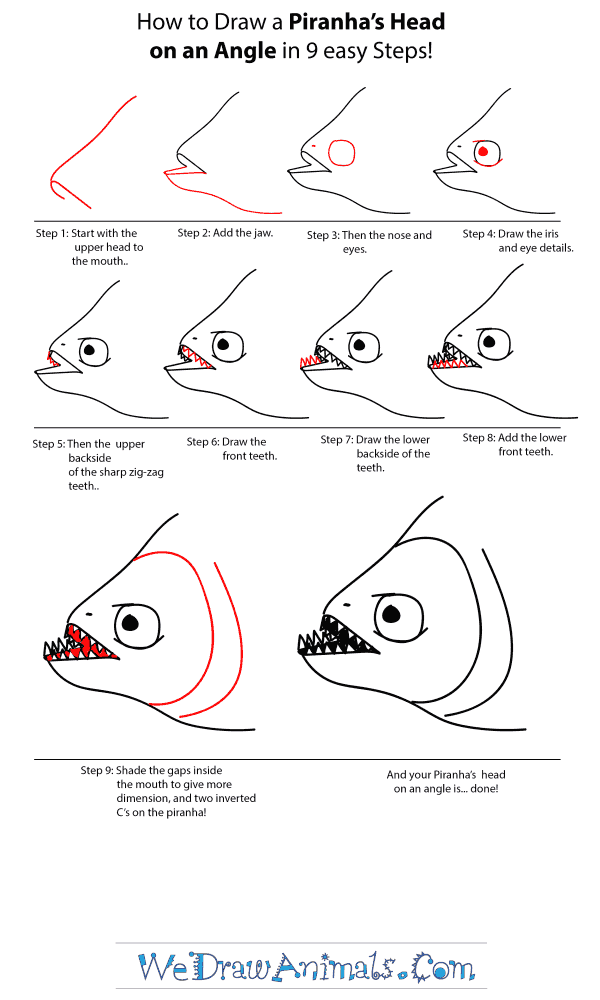
Step 1: Begin with the piranha's upper head and mouth by drawing a diagonal line down to the left, with a "U" shaped line beneath it.

Step 2: Add the jaw by connected a narrow arched line to the upper mouth, then from the far end bring a curved line down and below the head.

Step 3: Draw a small dot for the nose just above the mouth, and a large circle behind the mouth for the eye.

Step 4: Shade in a small circle inside of the eye for the iris. Add a few straight and cured liens above and below the eye for detail.

Step 5: Add some sharp, zig-zagged teeth to the upper back of the top of the mouth.

Step 6: Finish the zig-zag teeth for the top of the mouth.

Step 7: Draw the lower back teeth by adding sharp zig-zag lines to the bottom of the mouth.

Step 8: Finish the zig-zag teeth of the lower mouth.

Step 9: Shade in the gapes within the mouth, leaving the teeth white. Add two curved lines behind the eye from the top of the head to the bottom for detail.

Step 10: Your piranha is now finished!
How to Draw a Piranha Head – Step-by-Step Tutorial