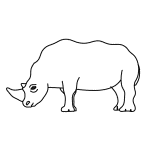
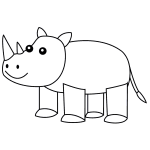
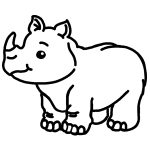
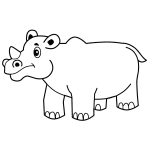
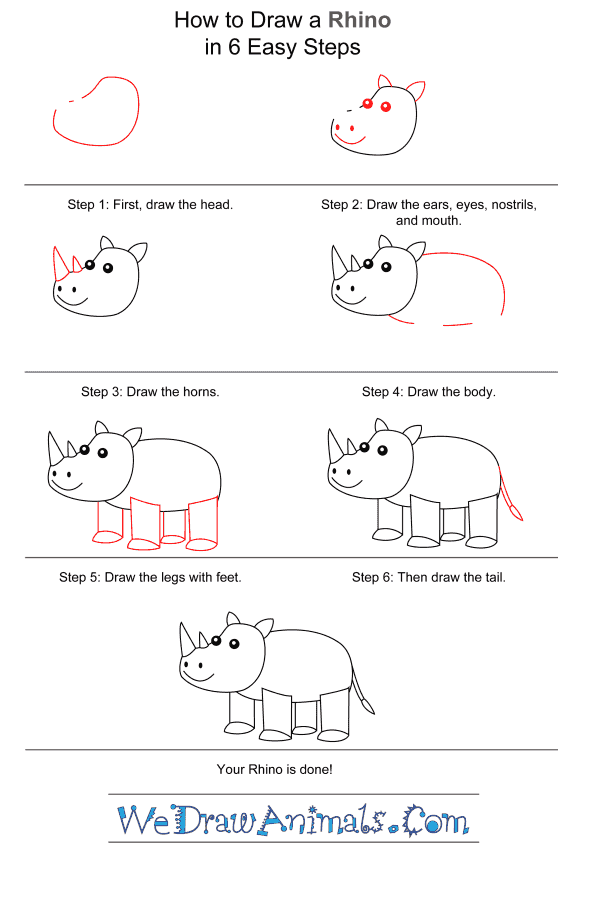
In this quick tutorial you'll learn how to draw a Rhino For Kids in 6 easy steps - great for kids and novice artists.
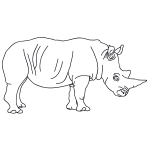
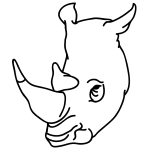
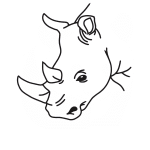
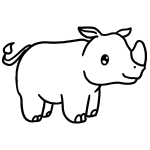
The images above represent how your finished drawing is going to look and the steps involved.
Below are the individual steps - you can click on each one for a High Resolution printable PDF version.
At the bottom you can read some interesting facts about the Rhino For Kids.
Make sure you also check out any of the hundreds of drawing tutorials grouped by category.
How to Draw a Rhino For Kids - Step-by-Step Tutorial
Step 1: Start off with a shoe-shape for the rhino's huge head. Leave little spaces where the horns will go.
Step 2: On top of the head, draw some small ears. Then add eyes towards the top of the face. Don't forget two wide nostrils and a mouth.
Step 3: Now make one large triangle for the first horn and a smaller triangle for the second horn closer to the eyes.
Step 4: Draw a curve for the tall back of the rhino, and then draw two smaller curves for the stomach, leaving room to add in the legs.
Step 5: It's time to add in the legs. Rhinos are heavy animals so they need a lot of support to hold up their body. Draw thick legs with wide feet on the bottom.
Step 6: Finish off your rhino with a thin tail that looks kind of like a paintbrush.
Step 7: Congratulations on drawing your first rhino! If you color your picture, don't forget that rhinos like to hang out in mud!

