
In this quick tutorial you'll learn how to draw a Woodpecker Head in 8 easy steps - great for kids and novice artists.
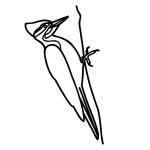
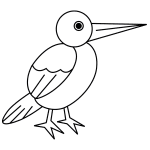
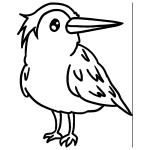
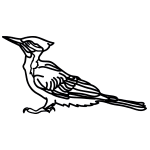
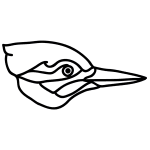
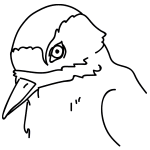
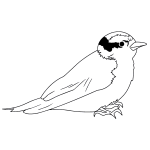
The images above represent how your finished drawing is going to look and the steps involved.
Below are the individual steps - you can click on each one for a High Resolution printable PDF version.
At the bottom you can read some interesting facts about the Woodpecker Head.
Make sure you also check out any of the hundreds of drawing tutorials grouped by category.
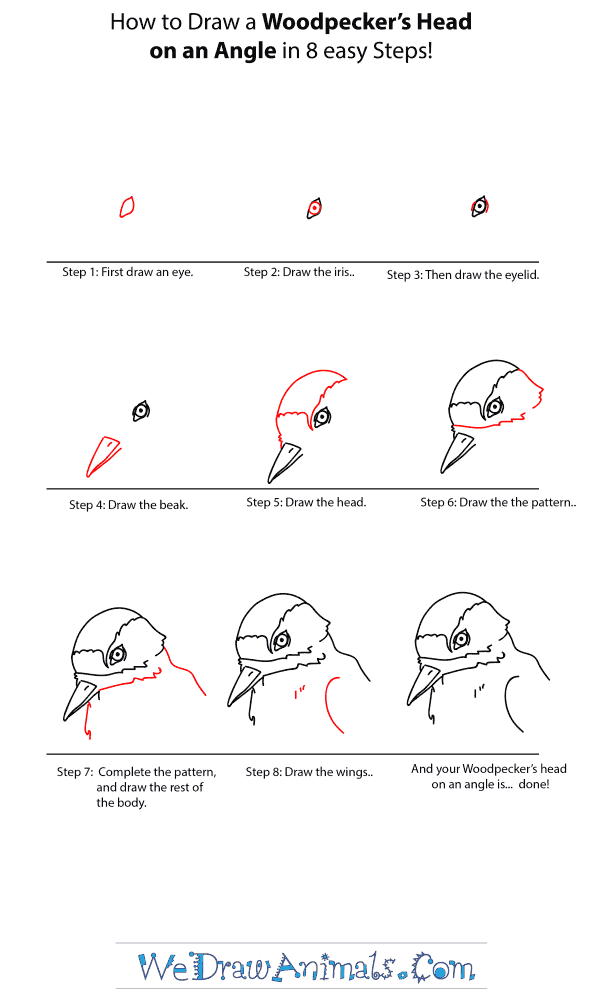
How to Draw a Woodpecker Head - Step-by-Step Tutorial


Step 1: First we will draw the eye. It is almond shaped.

Step 2: Add the pupil and iris. Add some color to it too!

Step 3: Now add the eyelid.

Step 4: The beak is next. It is a triangle shape. Don't forget it's nose

Step 5: Now we will add the forehead. It is round. Add some details for the feathers too.

Step 6: Add more details for more feathers.

Step 7: Even more feathers and the neck is added. Look at the picture for help.

Step 8: Last, we add his wing and a little more feather detailing.
How to Draw a Woodpecker Head – Step-by-Step Tutorial