

Step 1: Start with the zebra's head and neck. Draw an oval for the head, leaving room for a snout at the bottom. Then draw a thick neck.

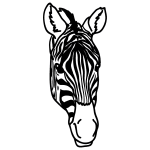
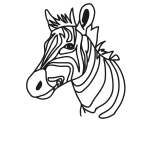
Step 2: Draw two round ears on the top of the head, two eyes, and a rounded snout in the space you left open on the head. Add nostrils and a little line at the bottom of the face for the mouth. Draw a rectangle shape for the mane on the back of the zebra's neck.

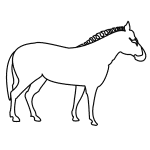
Step 3: Now draw a curve for the back coming out of the neck. Add a curve for the chest and leave a space for the front leg, then draw another line for the belly. Leave room at the back of the zebra for the back leg.

Step 4: Draw the legs in the spaces and the legs on the other side of the zebra. Add squares for hooves on the bottoms of the legs.

Step 5: Next, draw a thin tail with a paintbrush-like tip on the end for the fur.

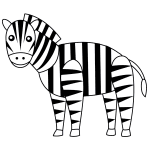
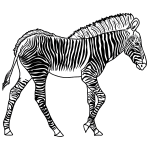
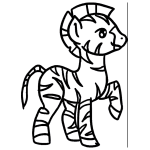
Step 6: Finally, draw the zebras stripes! These stripes cover the head, mane, neck, body, and legs.

Step 7: You have completed your zebra drawing! Color the stripes in black to make it look just like a real zebra!
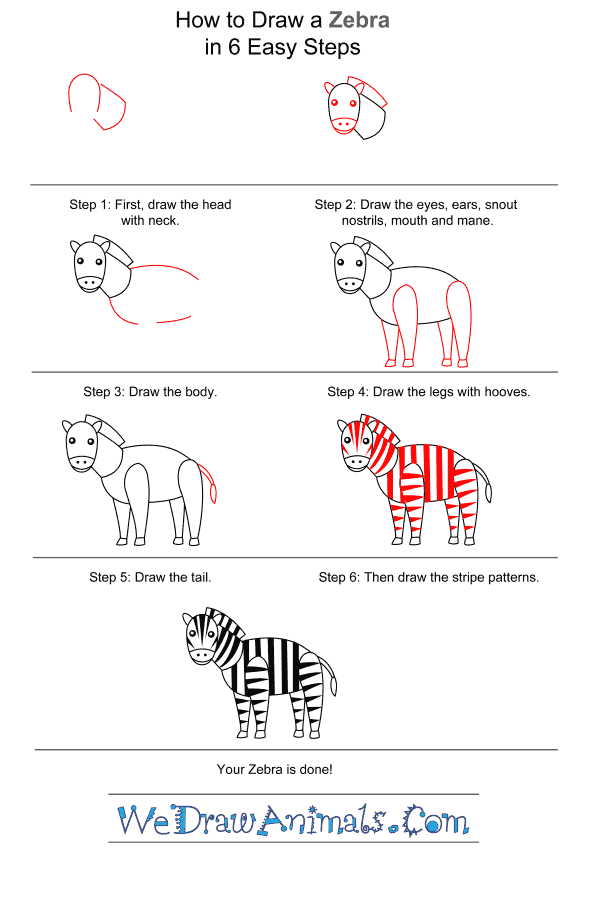
How to Draw a Zebra for Kids – Step-by-Step Tutorial