

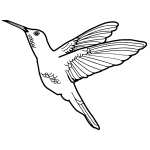
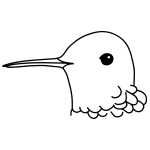
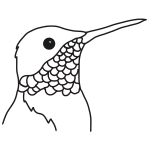
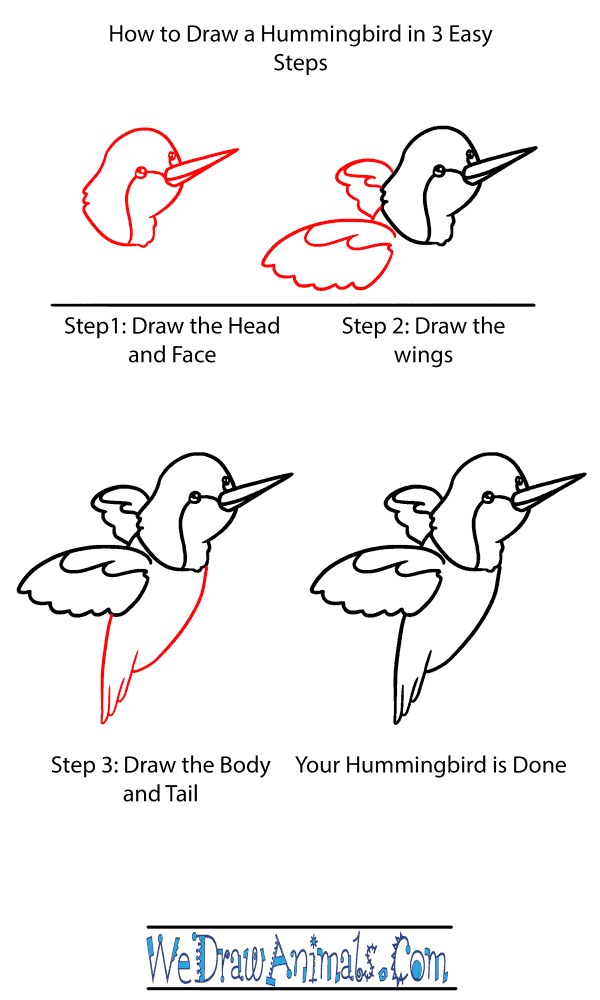
Step 1: To start our Hummingbird, we'll draw the head, face, and beak. For the beak, draw a long stretched-out triangle and make it's shortest side curved. Add a small straight line down the center to show where the hummingbird's beak opens. Next, draw two curving lines up and down to make the head, then draw the neck. Make the neck lines a little bit squiggly so you can see the Hummingbird's feathers. Add the eyes and then a curved line to show the change in the feather's color. You can make them any color you want when we're finished!

Step 2: Now we'll make the wings. For each wing, draw a line with one long curve for the top, and a wavy line on the bottom. Draw a second wavy line along the center of each wing and we're one step closer!

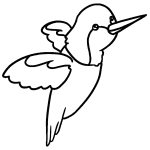
Step 3: To finish the Hummingbird we'll need to give it a body and tail. Draw a long curved line down from the neck, and another from the bottom of the wings. Draw in some tail feathers and your Hummingbird is done!
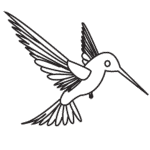
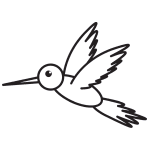
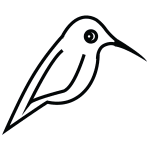
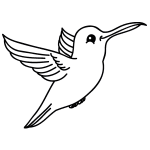
How to Draw a Baby Hummingbird – Step-by-Step Tutorial