
In this quick tutorial you'll learn how to draw a Black Panther Face in 6 easy steps - great for kids and novice artists.
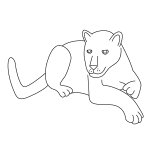
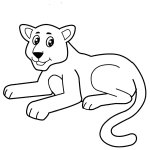
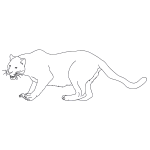
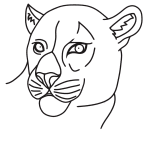
The images above represent how your finished drawing is going to look and the steps involved.
Below are the individual steps - you can click on each one for a High Resolution printable PDF version.
At the bottom you can read some interesting facts about the Black Panther Face.
Make sure you also check out any of the hundreds of drawing tutorials grouped by category.
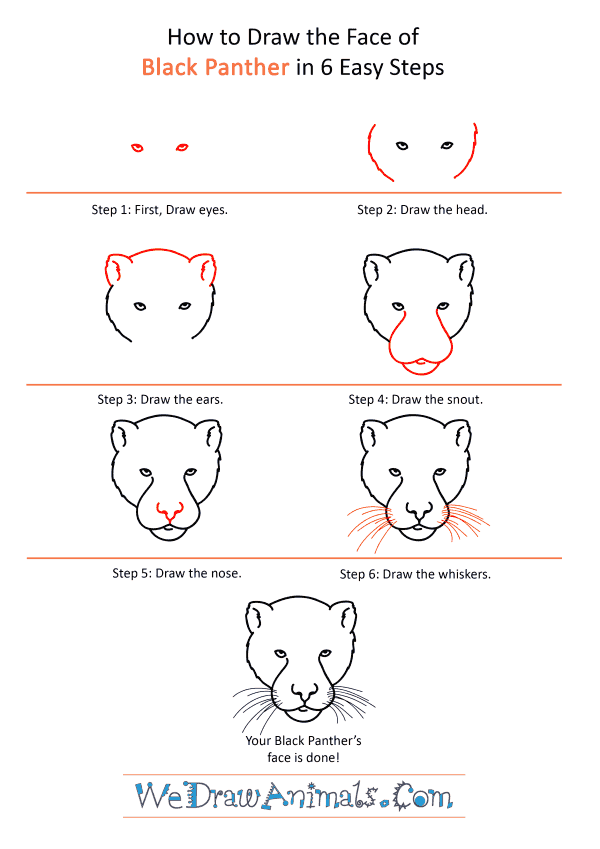
How to Draw a Black Panther Face - Step-by-Step Tutorial


Step 1: Start by drawing the eyes which are hazlenut shaped and have a dot on between.

Step 2: Now we draw the head by drawing two curved lines on both sides leaving spaces above and below the eyes.

Step 3: Draw two pointed ears on the upper end of the curved lines. Now draw a fuzzy line inside both ears for hair. Now connect both ears with a curved line making the top of the head.

Step 4: Starting from the inner corners of the eyes, draw a rounded "W" to make the snout. Now add a curved line below that for the lower lip.

Step 5: Draw the nose shaped like a tiny mushroom in the bottom middle of the snout.

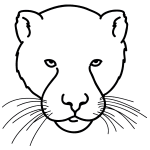
Step 6: Draw several adjacent curved lines on either side of the snout to make the Panther's whiskers. Whiskers are a sensory organ that enhances the panthers visual and vibration senses to alert them of predators.
How to Draw a Black Panther Face – Step-by-Step Tutorial