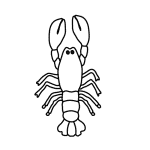
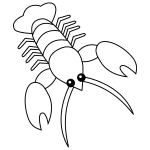
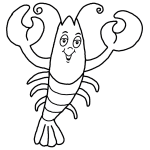
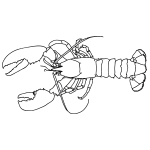
In this quick tutorial you'll learn how to draw a Cartoon Lobster in 6 easy steps - great for kids and novice artists.
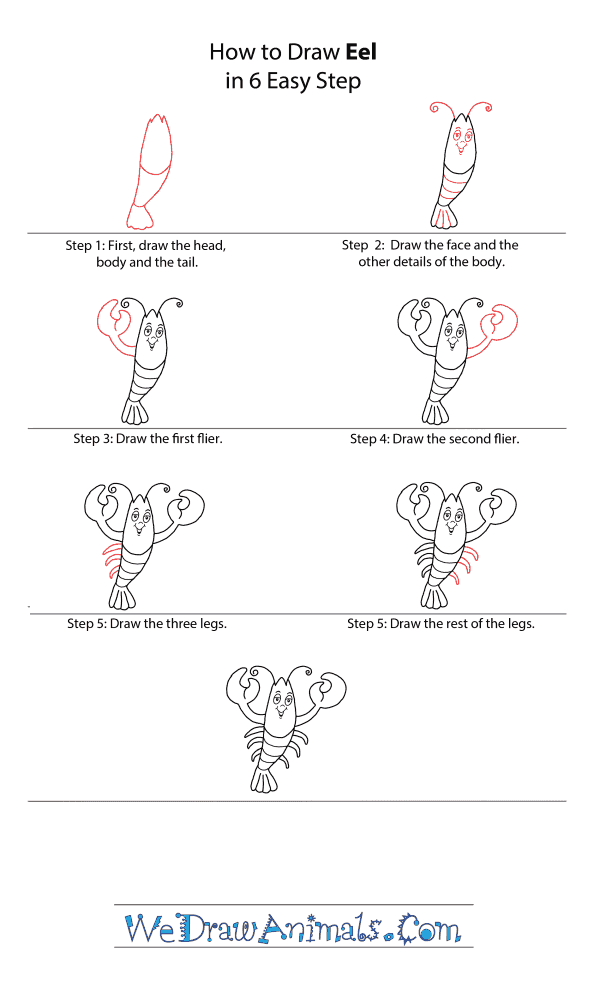
The images above represent how your finished drawing is going to look and the steps involved.
Below are the individual steps - you can click on each one for a High Resolution printable PDF version.
At the bottom you can read some interesting facts about the Cartoon Lobster.
Make sure you also check out any of the hundreds of drawing tutorials grouped by category.
How to Draw a Cartoon Lobster - Step-by-Step Tutorial
Step 1: Rock lobster!! Draw a vertical tube-like shape with a finned point at the bottom. Through the middle of the tube, add a curved horizontal line, connecting both sides.
Step 2: Next, add a few more curved lines below the first to give the lobster's body some detail. Add a few vertical lines to the fin and off the top, add two curved lines with a space between the two, creating a curly-Q at each end. Now, add the facial features to the lobster by adding two circles for the eyes, another circle below the eyes in between the two for the nose and lastly, a curved line below the nose for the mouth.
Step 3: Let's add on the fliers! Off to the left side of the lobster's body, add two curved parallel lines that continue up into the vertical direction. Have both lines curve slightly outward and then bend downward, connecting in the middle. This will create the pinchers of the flier.
Step 4: Repeat the previous step off to the right of the lobster for the second flier.
Step 5: Now, off to the left again below the flier, add a few cones for the left three legs.
Step 6: Repeat the previous step once again on the right to give the lobster the other set of legs.
Step 7: You did great! Congratulations.

