
In this quick tutorial you'll learn how to draw a Cartoon Meerkat in 8 easy steps - great for kids and novice artists.
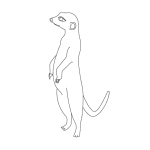
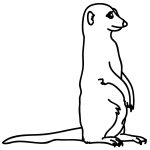
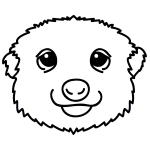
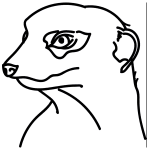
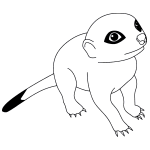
The images above represent how your finished drawing is going to look and the steps involved.
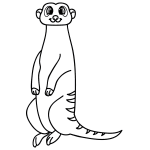
Below are the individual steps - you can click on each one for a High Resolution printable PDF version.
At the bottom you can read some interesting facts about the Cartoon Meerkat.
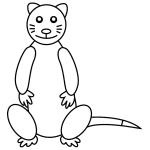
Make sure you also check out any of the hundreds of drawing tutorials grouped by category.
How to Draw a Cartoon Meerkat - Step-by-Step Tutorial


Step 1: We will begin with the head. Draw a circular figure in the middle of your paper!

Step 2: In the middle of the circular figure, add eyes to the head by drawing in two circles, evenly spaced apart.

Step 3: Right below the eyes in the center of the head, add another small circle with two little curved lines coming off the bottom for the nose and mouth.

Step 4: Now, on each side of the head, add two small domes for the ears.

Step 5: Starting at the chin off to the left, draw in a vertical line in the downward position. Repeat this step by creating another parallel line, but this time, curve it into a horizontal line at the bottom. Add another horizontal line parallel to this one and connect both at the end.

Step 6: Now, off the right-most line, add little triangles down the back of the meerkat to create spines.

Step 7: It's time for the arms! Off to the left of the meerkat's body, draw in a set of vertical parallel lines that connect at the bottom with the hand. Move over to the right slightly and repeat the previous step to create the other arm.

Step 8: Now, below the two arms, add in two domes that point towards the left. At the base of both, add two almond-shaped figures for the feet!
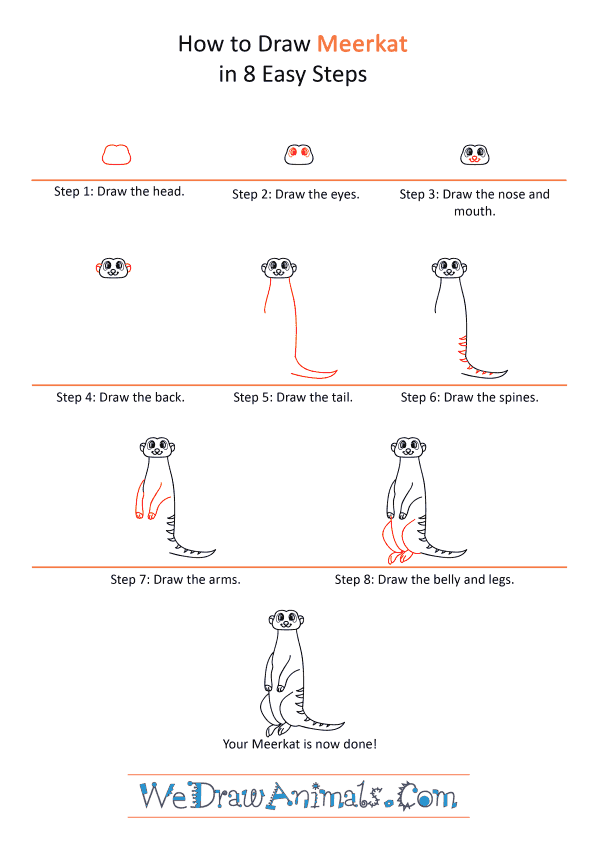
How to Draw a Cartoon Meerkat – Step-by-Step Tutorial