
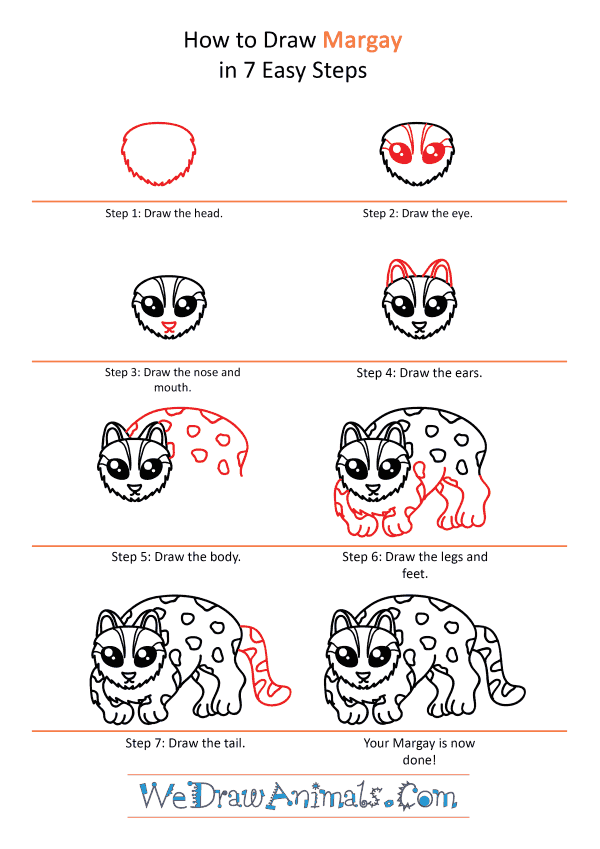
In this quick tutorial you'll learn how to draw a Cute Margay in 7 easy steps - great for kids and novice artists.
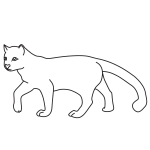
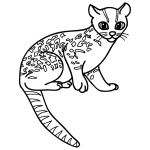
The images above represent how your finished drawing is going to look and the steps involved.
Below are the individual steps - you can click on each one for a High Resolution printable PDF version.
At the bottom you can read some interesting facts about the Cute Margay.
Make sure you also check out any of the hundreds of drawing tutorials grouped by category.
How to Draw a Cute Margay - Step-by-Step Tutorial


Step 1: Begin with the margay's head by drawing a circle with many zig-zag points on the lower half.

Step 2: To draw the eyes, add two shaded ovals with white spaces within them, at the top center of the head. Draw two thin triangle points coming down between the eyes. At the outside ends of the eyes, draw two lines connecting to the sides of the head.

Step 3: Next, draw a semi-circle for the nose, with a curved line below it for the mouth.

Step 4: Add two upside down "U" shaped lines for the ears, each with a smaller "U" traced within.

Step 5: For the body, drawing a curved line moving back and away from the head, curving down. Add several blocky shapes for spots.

Step 6: To add the legs, draw several curved lines coming down from below the body, curving in and back up. Then add seveal blocky circles.

Step 7: Finally, draw the tail by adding a curving "Z" shape with several "U" shaped shapes for patterns.
How to Draw a Cute Margay – Step-by-Step Tutorial