
In this quick tutorial you'll learn how to draw a Grasshopper For Kids in 7 easy steps - great for kids and novice artists.
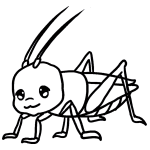
The images above represent how your finished drawing is going to look and the steps involved.
Below are the individual steps - you can click on each one for a High Resolution printable PDF version.
At the bottom you can read some interesting facts about the Grasshopper For Kids.
Make sure you also check out any of the hundreds of drawing tutorials grouped by category.
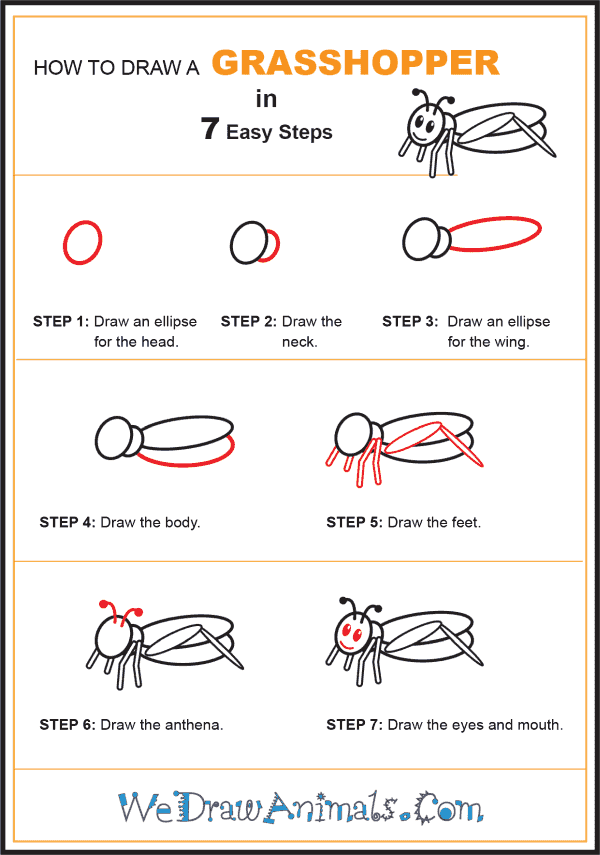
How to Draw a Grasshopper For Kids - Step-by-Step Tutorial


Step 1: Start by drawing an ellipse. This will be the head of the grasshopper.

Step 2: To make the neck draw a half ellipse that connects to the head.

Step 3: Next draw a really long ellipse and connect it to the neck. This is one of the wings.

Step 4: Now draw another ellipse right below the wing. This will be the grasshopper's body.

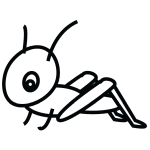
Step 5: Let's add the feet. Add four little feet in front, and one larger foot on the side of the body.

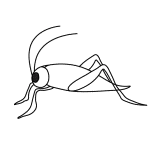
Step 6: You are almost done! Draw two little antenna right on top of the grasshopper's head.

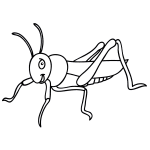
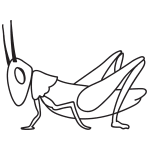
Step 7: Great job! Now just add the eyes and the mouth. Your grasshopper is finished!
How to Draw a Grasshopper for Kids – Step-by-Step Tutorial