
In this quick tutorial you'll learn how to draw a Porcupine Head in 11 easy steps - great for kids and novice artists.
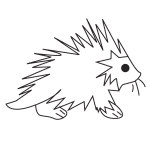
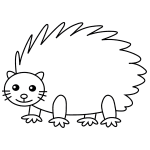
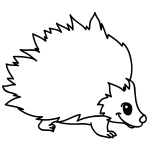
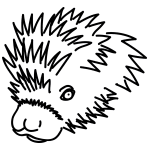
The images above represent how your finished drawing is going to look and the steps involved.
Below are the individual steps - you can click on each one for a High Resolution printable PDF version.
At the bottom you can read some interesting facts about the Porcupine Head.
Make sure you also check out any of the hundreds of drawing tutorials grouped by category.
How to Draw a Porcupine Head - Step-by-Step Tutorial


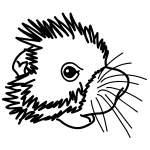

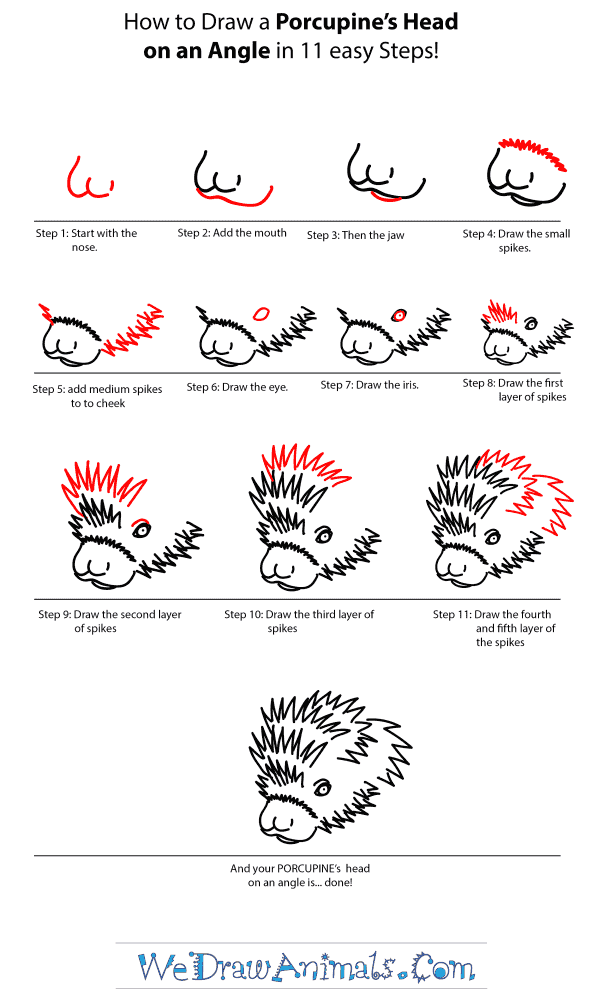
Step 1: Begin with the nose by drawing a rounded "W".

Step 2: Add the mouth by drawing a curved line from the bottom of the lefthand side of the nose, and bringing it off to the right.

Step 3: Add a small semi-circle below the mouth for the jaw.

Step 4: Using a tight zig-zag line, draw small spikes above the nose, down to the end of the mouth.

Step 5: Add some zig-zag spikes above the nose, and some lager ones below the mouth.

Step 6: Draw an oval for the eye.

Step 7: Within the eye, draw a circle for the iris.

Step 8: Add a tall layer of zig-zag spikes above the nose, next to the eye.

Step 9: Add a taller layer of zig-zags above the previous one.

Step 10: Add a third set of zig-zags, about the same height as the previous set.

Step 11: Finally, add the last two set of zig-zag spikes, bring the back toward the bottom of the head.

Step 12: Your porcupine is now finished!
How to Draw a Porcupine Head – Step-by-Step Tutorial