
In this quick tutorial you'll learn how to draw an African Elephant Face in 5 easy steps - great for kids and novice artists.
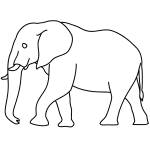
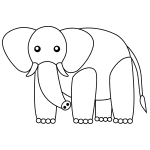
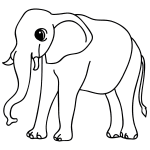
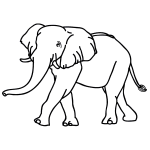
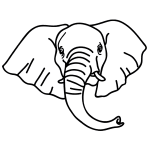
The images above represent how your finished drawing is going to look and the steps involved.
Below are the individual steps - you can click on each one for a High Resolution printable PDF version.
At the bottom you can read some interesting facts about the African Elephant Face.
Make sure you also check out any of the hundreds of drawing tutorials grouped by category.
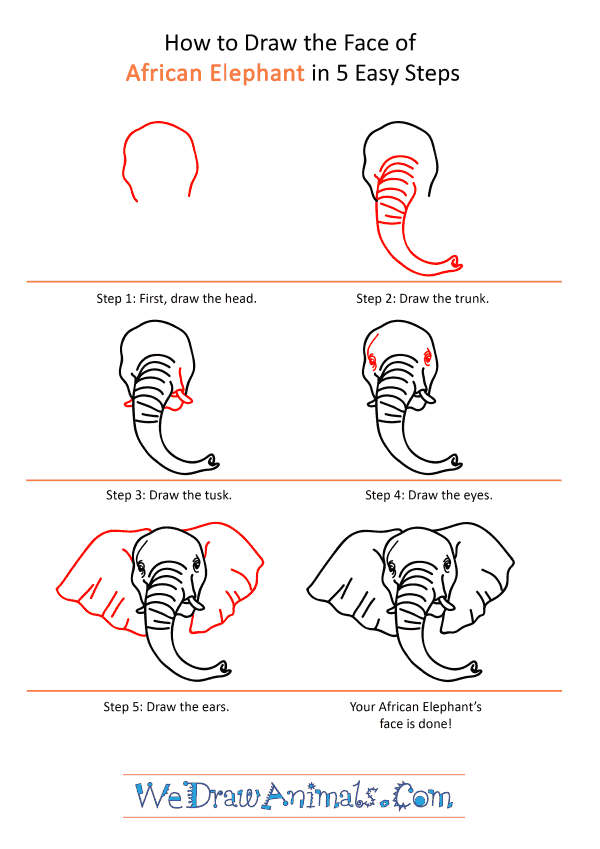
How to Draw an African Elephant Face - Step-by-Step Tutorial


Step 1: Let's start with the head. Draw a big inverted "U" which is wider at the top.

Step 2: Next we draw the trunk that the elephant uses to breathe and grasping things. Draw a long pipe with two curved lines, that's wider at the top and thin at the bottom, forming a snout at the end. Make it curved at a right angle in the middle and add few lines across the top part for detail.

Step 3: Now we draw the tusk. Draw a curved tooth on the right side of the trunk arrising form a cylindrical base. Draw another tooth in the left side but make it smaller because it's hidden behind the trunk. Now complete the lower edge of the head by joining the base of the tooth to the right side of the trunk.

Step 4: Draw small oval shaped eyes on the side of the trunk above the tusk on both sides.

Step 5: Let's draw the elephant's ears now. Elephant's have large wing-like ears that they use to control their body temprature. Start by drawing a curved line from the top of the head coming down on both sides. Now connect the end of the line to the trunk making the line wavy like ruffles and join it below the head.
How to Draw an African Elephant Face – Step-by-Step Tutorial