
In this quick tutorial you'll learn how to draw a Cartoon Pronghorn in 7 easy steps - great for kids and novice artists.
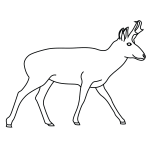
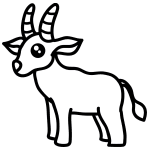
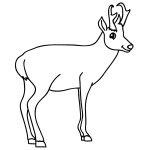
The images above represent how your finished drawing is going to look and the steps involved.
Below are the individual steps - you can click on each one for a High Resolution printable PDF version.
At the bottom you can read some interesting facts about the Cartoon Pronghorn.
Make sure you also check out any of the hundreds of drawing tutorials grouped by category.
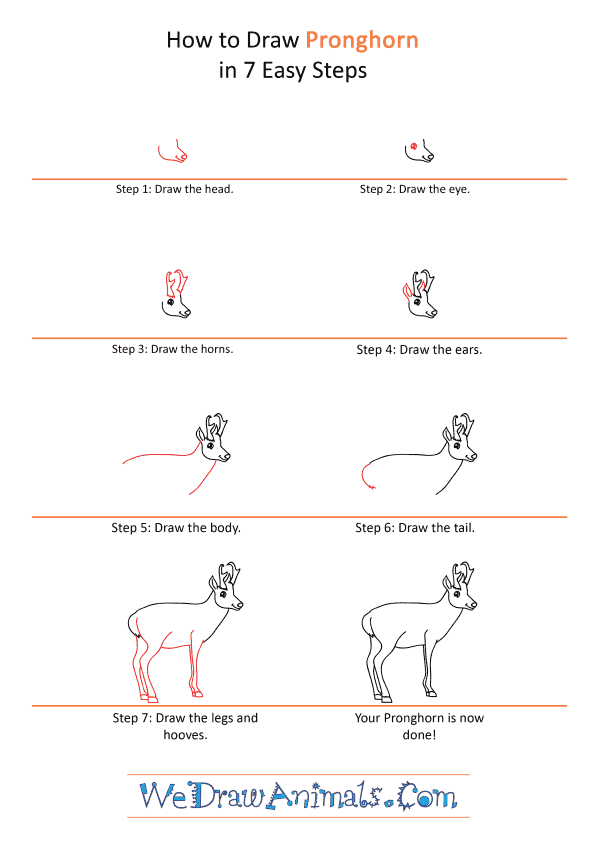
How to Draw a Cartoon Pronghorn - Step-by-Step Tutorial

Step 1: Begin by drawing the head. Draw a vertical line that curves almost 90 degrees and ends with another diagonal curve at the end. Draw a circle next to the small curve and attach another diagonal line to the top of it extending upward and bending into a vertical line.

Step 2: Next, you'll draw a circle for the eye to the right of the first curve you drew. Start with a small curve and add in a slightly larger loop above it and color it in to make the eye.

Step 3: Draw the horns next. Draw a short line over the eye and add in two lines extending vertically from it, one longer line with a hook at the top and one much shorter than the other and angled slightly toward the longer line. Then draw a diagonal line extending up and to the right from the smaller line then bending diagonally toward the longer line and then back vertical just before it reaches the other line and connecting at the top of the other line. Repeat the same process for the other horn, making it slightly more curved and placing it over the forehead.

Step 4: Draw the ears next. Draw a straight line extending diagonally in the space between the first horn you drew and the edge of the jaw and a curve under it connecting to the top of the jaw. Draw in a curve for the detail in the ear. Then draw another ear in between the horns, this one barely visible, with a curved line inside the ear.

Step 5: You'll need to draw the body next. Begin with a curved line extending diagonally from the ear that curves horizontally to form the back. Draw the front of the neck and chest area next using a diagonal line extending downward.

Step 6: Draw a curve for the tail connecting to the body, making the very bottom of the curve fuzzy.

Step 7: Next, you'll draw in the legs, hooves and belly. Start just below the back and draw a curved line that extends toward the front, then curves back toward the tail sharply and then straightens out vertically to form the foremost of the hind legs. Draw a second curving leg to the left of that one and only partially visible behind it. Next, draw a horizontal line with a slight curve connecting to that set of legs and stopping with just a short gap to the chest area. Then draw a long line with curves at the top and bottom and a horizontal line across the bottom of the hoof. Draw in another vertical line with slight curves a short distance away from the first line, making sure to connect it to the chest. Draw a second line just to the left of the first line for the first front leg, following its outline so that the other leg is only barely visible. Make sure to add in short horizontal lines across the bottoms of all the legs for the hooves.
How to Draw a Cartoon Pronghorn – Step-by-Step Tutorial