
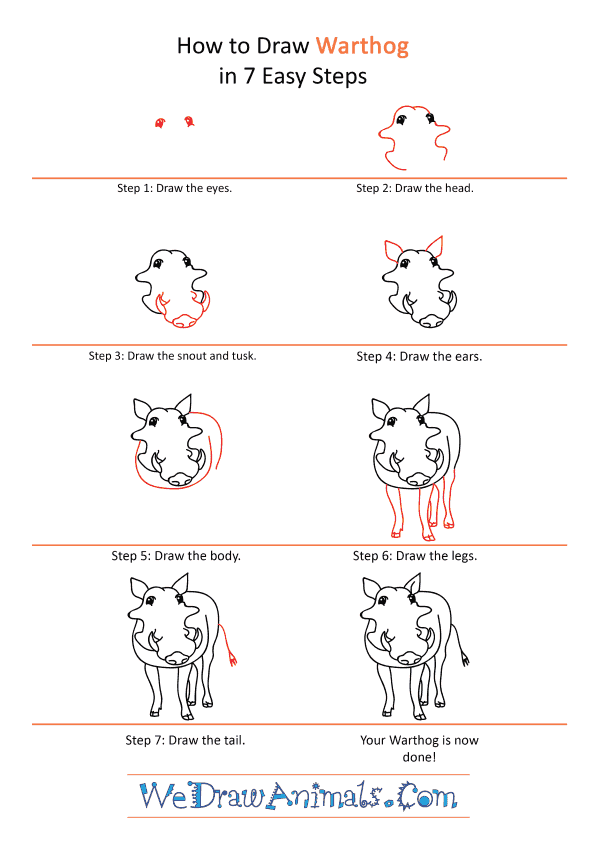
In this quick tutorial you'll learn how to draw a Cartoon Warthog in 7 easy steps - great for kids and novice artists.
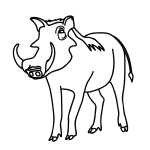
The images above represent how your finished drawing is going to look and the steps involved.
Below are the individual steps - you can click on each one for a High Resolution printable PDF version.
At the bottom you can read some interesting facts about the Cartoon Warthog.
Make sure you also check out any of the hundreds of drawing tutorials grouped by category.
How to Draw a Cartoon Warthog - Step-by-Step Tutorial

Step 1: Start with the eyes. You'll draw two circles with extra curves at the top and bottom and fill them in.

Step 2: Next draw the head. Draw a shallow “M” shape for the top of the head above the eyes and then extend the side down to curve out almost 90 degrees. Draw two sideways “U” shapes, one on each side of the head, with their open sides facing outward and extending on the lower side into another curve back toward the middle. Leave a space in between the two sides for the snout.

Step 3: Next you'll draw the snout. First, draw two thin small curved triangles, one on each side, both of them being to the right of each side of the outline of the head. Draw a curve connecting the tusks at the bottom, adding in an upside down rounded “V” shape with two curved lines at the bottom for the nose.

Step 4: Draw the ears next, making them leaf-shaped and putting one on each side of the top of the head.

Step 5: Now you're going to draw in the body. Draw a long curve starting at the cheek bone on the left side that goes under the head and finishes just below and to the right of the other cheek bone. Then draw in a second line that extends out horizontally from the ear on the right side and curves downward at a 90 degree angle to finish outside the first curve, even with the start of the tusk on the right side.

Step 6: Next you'll draw in the front and back legs and hooves. Draw four sets of parallel curving lines, making the two sets for the front spaced further apart than the sets for the back. Add in horizontal lines across the bottoms of all the sets of lines an then draw “W” shaped split hooves for each leg and connect the back leg on the right with the curve coming down from the back.

Step 7: Finally, add in a curving diagonal line with some lines splitting off on all directions for the tuft of hair at the end of the tail.
How to Draw a Cartoon Warthog – Step-by-Step Tutorial