
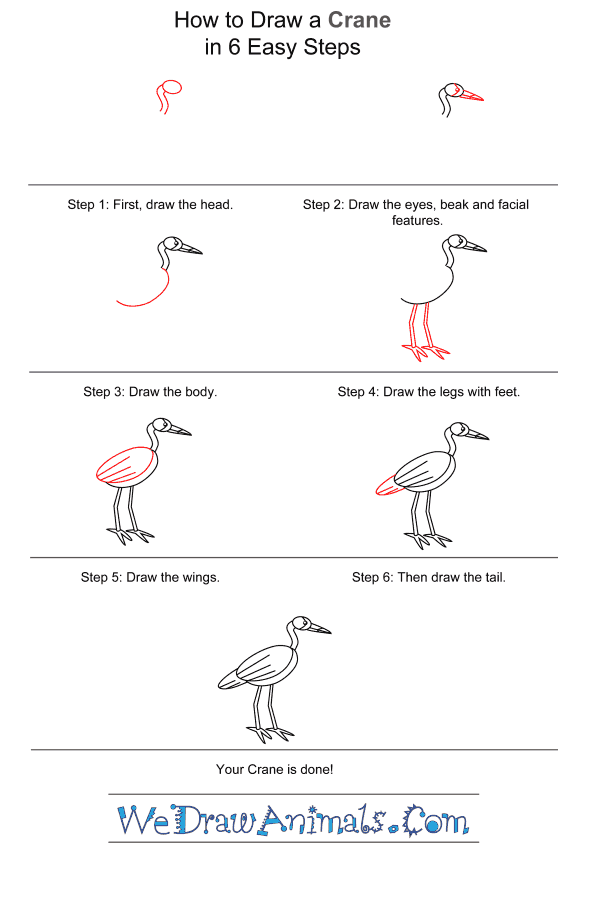
In this quick tutorial you'll learn how to draw a Crane For Kids in 6 easy steps - great for kids and novice artists.
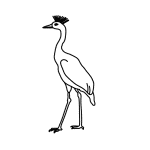
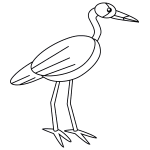
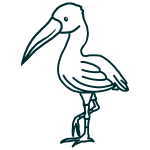
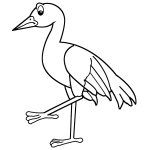
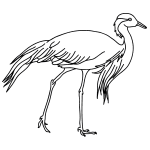
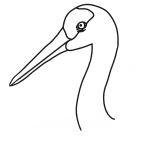
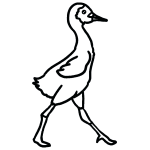
The images above represent how your finished drawing is going to look and the steps involved.
Below are the individual steps - you can click on each one for a High Resolution printable PDF version.
At the bottom you can read some interesting facts about the Crane For Kids.
Make sure you also check out any of the hundreds of drawing tutorials grouped by category.
How to Draw a Crane For Kids - Step-by-Step Tutorial


Step 1: Cranes are large birds with long necks and long, thin legs. Begin your crane with a small oval for the head and two wavy lines for its neck.

Step 2: Cranes have colored patches of skin on the front of their heads. Define this patch of skin with a curved line running down the middle of the head. Add a smaller oval for the eye and a long pointed beak on the front of the head.

Step 3: For the body, draw a half-ellipse connected to the bottom of the neck.

Step 4: Draw the crane's long, skinny legs as two sets of lines and its feet as jagged lines.

Step 5: Add the crane's big elliptical wing in the gap left in the half-ellipse you drew in step 3. Add three straight lines to create the look of feathers.

Step 6: For the crane's tail feathers, add a final half-ellipse on the backside of the crane. Just like in Step 5, add three lines for feathers. Cranes are often white, but also come in blue, brown, or grey colors.
How to Draw a Crane for Kids – Step-by-Step Tutorial