

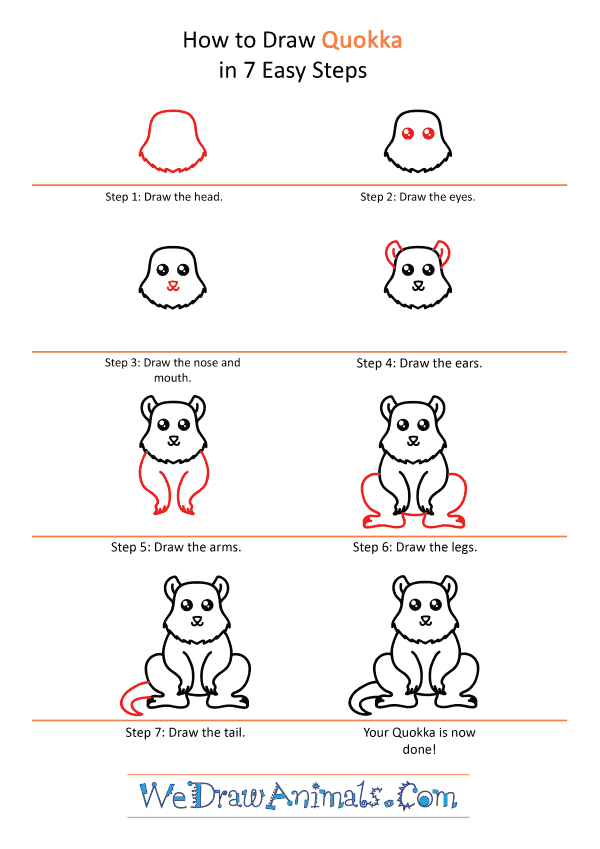
Step 1: Start with the quokka's head. You can do this by drawing a curved line with the sides branching out, connected by a zig-zag semi-circle.

Step 2: At the top of the head, draw two semi-shaded circles for eyes.

Step 3: Below the eyes, draw a small triangle with two short, curved lines below it for the nose and mouth.

Step 4: At the top of the head, draw two leaf shapes for the ears.

Step 5: Next, draw the arms. This can be done by drawing four curved lines from below the head. Connect them in pairs with "V" shapes.

Step 6: Now, draw the hind legs by drawing a curved line from behind each front leg. Connect a second curved line to each of these and bring the line up beneath the front paw. A curved line connects them between the front legs.

Step 7: Finally, draw the tail. This looks like a crescent shape sticking out from behind the legs.
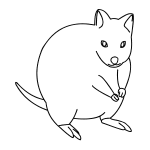
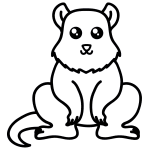
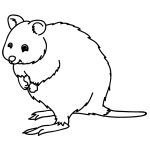
How to Draw a Cute Quokka – Step-by-Step Tutorial