

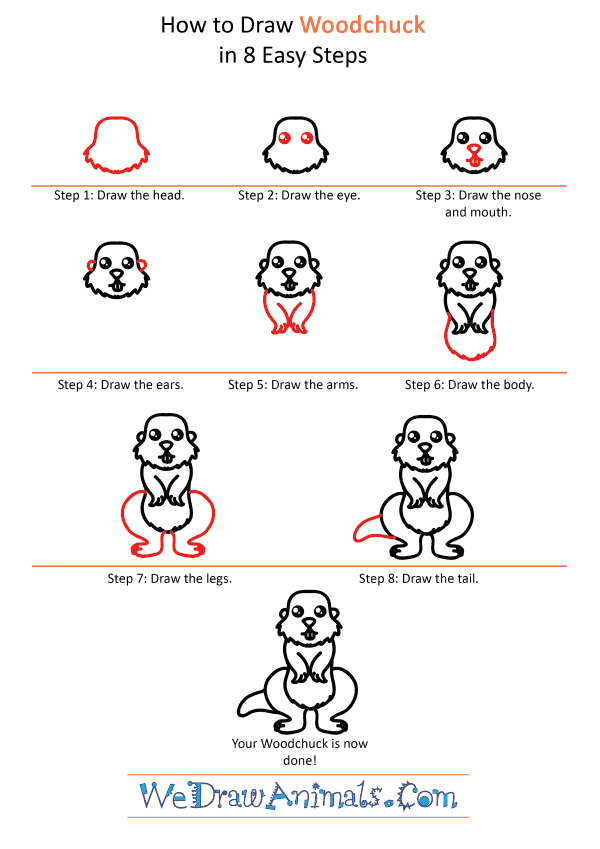
Step 1: Begin with the woodchuck's head. Draw a curved line connected to a spiky semi-circle below it.

Step 2: Add two small semi-shaded circles to the head for the eyes.

Step 3: Between the eyes, draw a small triangle for the nose with two curved lines beneath it, these connected by a semi-circle for the mouth.

Step 4: On either side of the head, add a small semi-circle for the ears.

Step 5: Below the head, draw the arms by drawing two curved lines connected to a "V" shape.

Step 6: Draw the body by draw a slightly spiky "U" shape below the arms.

Step 7: Now draw the legs by drawing a curved line out and down from either side of the body, ending in "L" shapes that connect back to the body.

Step 8: Finally, draw a rounded triangle for the tail.
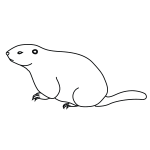
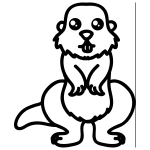
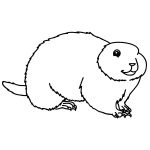
How to Draw a Cute Woodchuck – Step-by-Step Tutorial