
In this quick tutorial you'll learn how to draw a Tui in 10 easy steps - great for kids and novice artists.
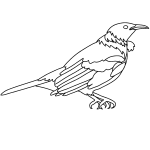
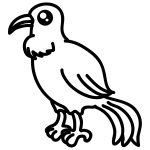
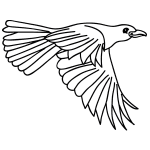
The images above represent how your finished drawing is going to look and the steps involved.
Below are the individual steps - you can click on each one for a High Resolution printable PDF version.
At the bottom you can read some interesting facts about the Tui.
Make sure you also check out any of the hundreds of drawing tutorials grouped by category.
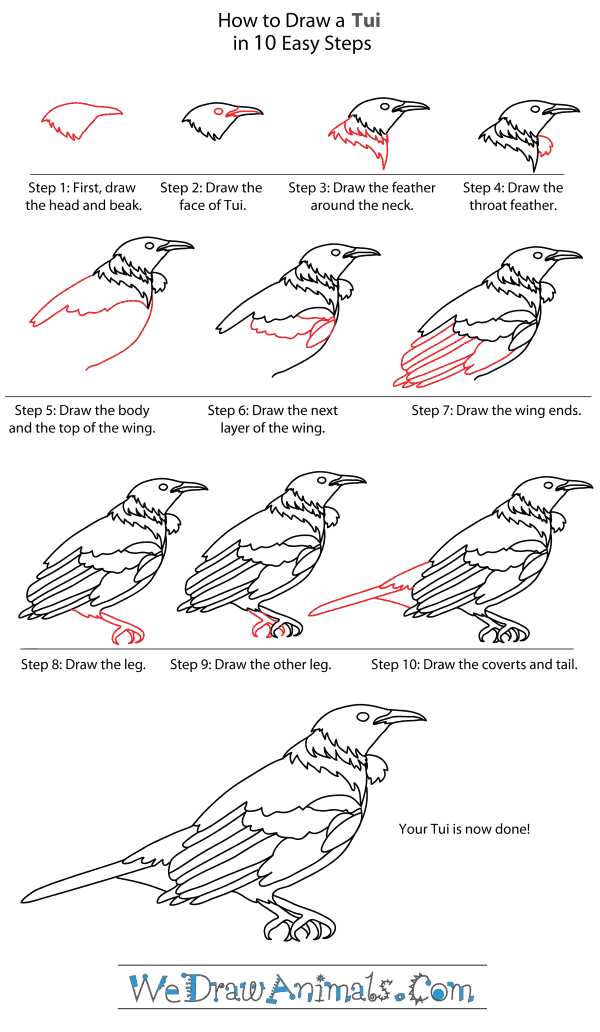
How to Draw a Tui - Step-by-Step Tutorial

Step 1: To draw a tui, you will first have to draw the head and beak. For the beak draw two sides of a triangle, with one being slightly angled. From the top of the beak, draw an arched line for the top of the head, then a jagged line for the feathers on the neck. Finally connect the bottom of the neck with a straight line to the beak.

Step 2: Next you will add the face. Use a circle to create the eye and draw a line splitting the beak and a triangle to make the inside of the mouth.

Step 3: You will now add feathers to the neck. You can do this by adding two rows of jagged lines and extend the neck past them.

Step 4: Now you will need to add the throat feather by adding a leaf shape to the front of the tui's neck.

Step 5: To draw the body and the top of the wing, you will need to extend the neck down with a curved line for the belly. Then make a straight line fro the top of the neck for the back. To make the top of the wing, draw the shape of the lower part of the wing and connect it to the end of the back and the top of the stomach.

Step 6: Next you will add another layer to the wings. To do this, add the feather shapes shown above.

Step 7: Draw the remaining ends of the wings by adding long rectangle shapes until they take the shape on the bottom.

Step 8: Next you will need to draw the leg. To do this, you will need to draw straight lines for the leg and three curved shapes to create the talons bringing them to a sharp point.

Step 9: Now draw the other leg in the same way you drew the first, placing it behind the first.

Step 10: Finally, you will need to add the coverts and tail. To create these add another feather shape at the bottom of the wing followed by a long rectangle that extends to form the tail. Finish the underside with a triangle shape connecting the tail to the bottom. You have now successfully drawn your tui.
Interesting Facts about the TUI
The Tui is a member of the bird family and the scientific term for them is Tui (Prosthemadera novaeseelandiae). This species is a native of New Zealand, and the largest member of the Honeyeater family. Another name for this animal is the Parson Bird, since the plumage resembles the formal attire of a priest, having a black body and a white collar. Similarly, these birds can imitate human speech, due partly to their extra voice box in their throat.
Did you know?
- This species is smart like parrots.
- The animal was first documented in 1788.
- The creature competes with mammals and other birds for their habitat.
- They prefer gathering food below 5,000 feet above sea level.
- The bird spends much of its time swallowing nectar from flowers.
The males can be extremely aggressive, chasing other birds away regardless of their size from their immediate habitat, occasionally attacking harriers and magpies. Fruit, pollen, seeds, and insects are other sources of nutrients that this animal seeks out, especially flax. Sometimes the nectar is fermented and makes the bird fly drunk. There are not many of these creatures, but they’re the least concern for a possibility of extinction.
How to Draw a Tui – Step-By-Step Tutorial