
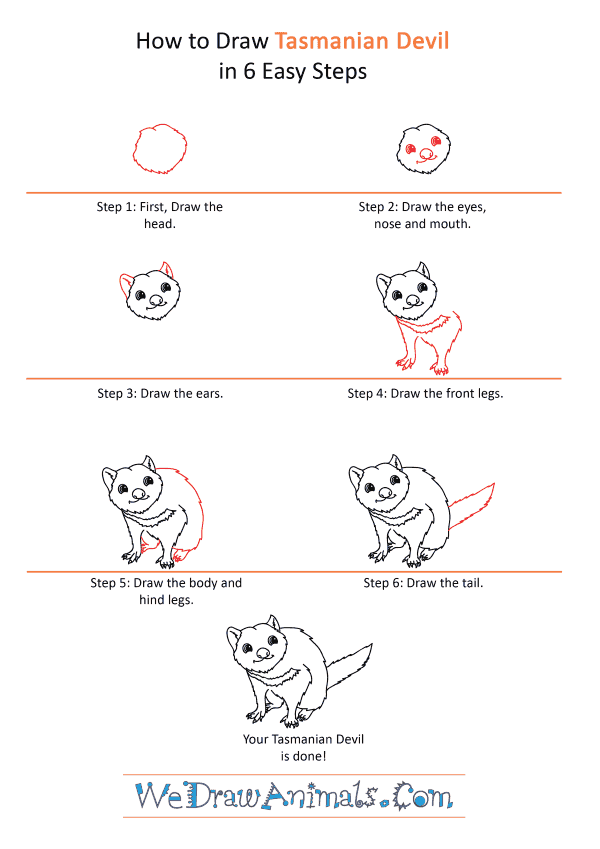
In this quick tutorial you'll learn how to draw a Cartoon Tasmanian Devil in 6 easy steps - great for kids and novice artists.
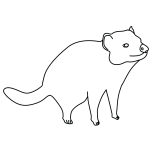
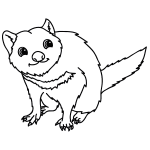
The images above represent how your finished drawing is going to look and the steps involved.
Below are the individual steps - you can click on each one for a High Resolution printable PDF version.
At the bottom you can read some interesting facts about the Cartoon Tasmanian Devil.
Make sure you also check out any of the hundreds of drawing tutorials grouped by category.
How to Draw a Cartoon Tasmanian Devil - Step-by-Step Tutorial

Step 1: Begin with a fuzzy oval with an “M” shaped top for the head.

Step 2: Then you'll draw in the round eyes a little away from the sides of the head and a circle for the nose in between and below and a wavy curve underneath for the mouth.

Step 3: Then, add in the pointed ears on each side of the top of the head. Add in short fuzzy lines inside the ears for detail.

Step 4: Next, draw in the front legs and chest area. Start with a fuzzy diagonal line with a curve for the foot and add in a hook-like curve with some small lines for toes to make the feet extending upward for the right side of the leg. Draw a fuzzy diagonal curve for the inside part of the other front leg. Draw in a short jagged horizontal line for the toes on the feet and extend the right side up in to make a furry curve for the outside part of the leg. Add in two furry curves across the chest area, making sure to connect the two along the right side.

Step 5: Draw a fuzzy curve from the bottom part of the ear on the right side and connecting in to the out part of the right leg. Then draw in a loop with several short lines for the foot on the right side. Add in a fuzzy curve in between the front legs for the leg and foot on the left side.

Step 6: Finally, draw the straight, wide tail as a set of parallel lines that taper and meet at a point.
How to Draw a Cartoon Tasmanian Devil – Step-by-Step Tutorial